The Garmin Alpha 200i has the handy ability to capture a digital photo of your current screen and save it directly to a folder on your device for later reference.
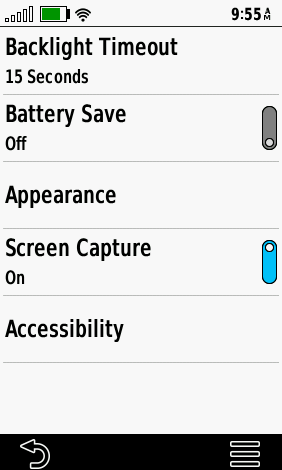
- From your "Setup" menu, select "Display".
- Toggle Screen Capture “On”. It is important to note that you will have to select this setting every time the unit is powered on in order to activate the screenshot function.
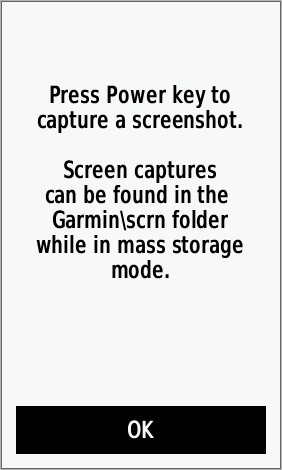
- Tap the Power button to capture a screenshot. By default, if Screen Capture is not enabled, tapping the power button will take you to your Brightness Adjust/ Lock Screen menu.
Once you have captured screenshots, you can view or email them using a compatible PC.
- Connect your Garmin 200i via USB using a compatible data cable and ensure that you are in Mass Storage Mode.
- Open File Explorer to view files on your PC
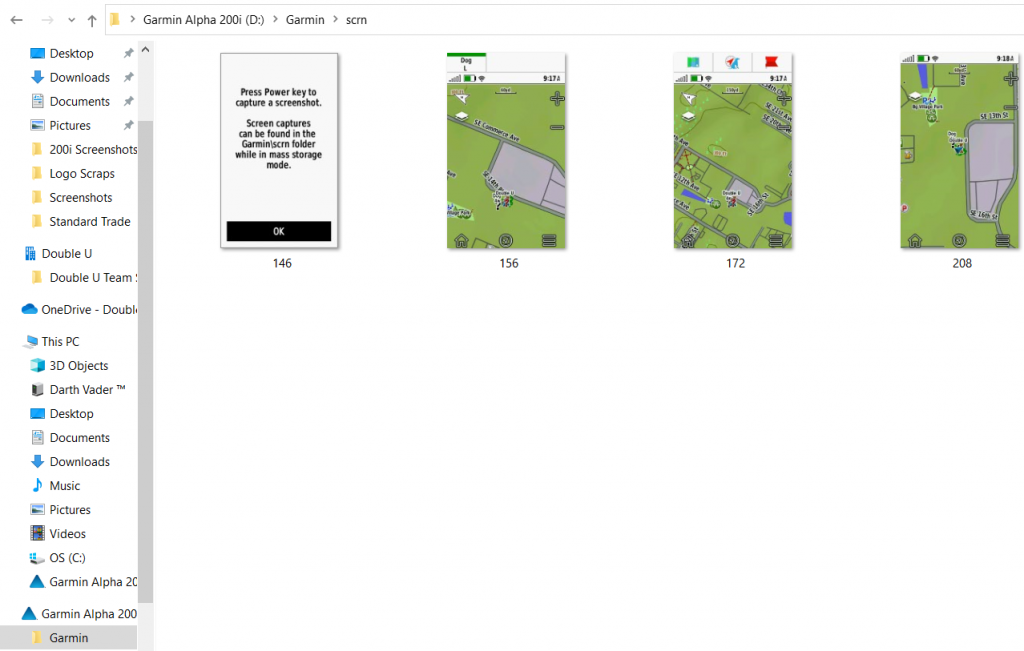
- Select your 200i unit from the menu, then open the containing folder "Garmin" and from there, the folder titled "scrn"
Any screenshots you have captured will appear in this gallery. From here, you can save, move, or share files with others.