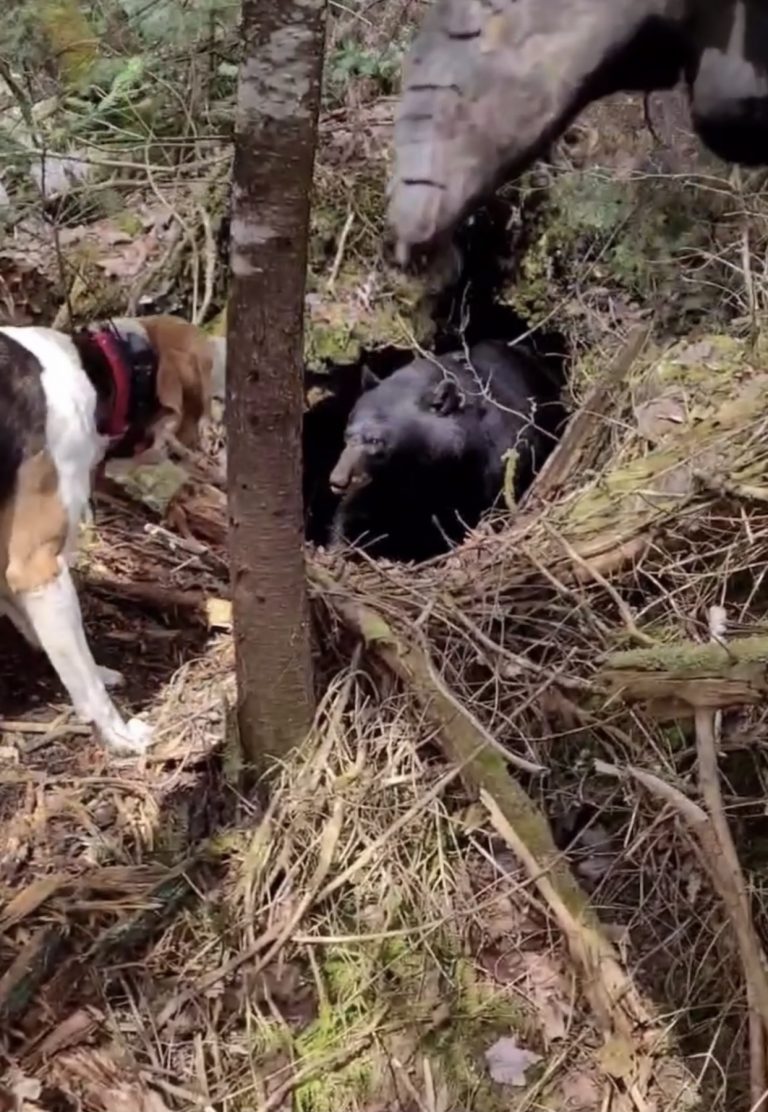
You're walking into what you assumed was your everyday bear tree when you hear the dreaded sound of dogs squealing and yelping in pain. Not one, but multiples. Your heart sinks and adrenaline kicks in as you sprint to your dogs. Your worst nightmare unfolds as the bear battles your hounds, standing his ground, swatting with his powerful paws and utilizing the strong jaw that he was given.
For most, this doesn’t happen often, but eventually every bear hunter will run into a scenario where first aid in the field could save their dog's life. As a veteran trained in extensive combat first aid, I have utilized what I have learnt more times than I can count on my own hounds as well as my friends. It is something no one ever wants to face but when you do, you’ll be thankful you were prepared.
First thing, just like in combat, is to eliminate the threat. Whether it means pulling the trigger on the bear or pulling the dogs is irrelevant in the matter. You will have to judge the situation. Hopefully the bear once it senses your presence will run off and you can pull the dogs off.
You're now faced with a stressful situation to triage what looks like a war zone of dogs with injuries ranging anywhere from mild to life threatening.
Immediately with any first aid scenario, your first step is to perform a primary survey of the scene. Essentially, you survey the scene taking a mental note of what injuries each dog has sustained and then follow by prioritizing who is in the most dire circumstance. Some would ask, how is this achieved? Essentially you are going to do the same thing you would in any first aid situation and assess what's known as your "ABC's"
Airway
Bleeding
Circulation.
First off, Airway seems pretty straight forward right? Make sure the dog is breathing but also that it's rhythm is correct. One of the first signs of shock is tachycardia symptoms; fast panting, confusion, weakness, fainting, fever, dizziness.
Bleeding. Physically take your hands and quickly go over each dog to confirm there are no holes or large bumps that may indicate a major bleed internally. Check quickly in the mouth and the anus area to confirm there isn't any blood coming from either.
Next is circulation. Check the dog’s gums to confirm color. Every dog varies in this aspect. Every houndsman should get familiar with their dogs normal gum color AFTER a race as it can change from a resting state.
These are your dog's symptoms and how to proceed.
Dog 1 has a large laceration to the inside of its leg close to the groin. It is deep and is flowing aggressively with the pulse.
Dog 2. Slight blood coming from forward of the diaphragm and between the ribs with an odd shape to the rib as well as making a strange sound when it breathes.
Dog 3. Has a laceration behind the diaphragm about 2 inches and it's stomach contents are slightly protruding but looks otherwise fine ex; not leaking fluid and no feces.
Dog 4. Cannot place weight on its front leg and it's foot is pointed in an incorrect fashion.
Dog 5 has some holes in it's front legs but the bleeding is minor and does not go in rhythm with the pulse.
First thing you are going to do is address anything life threatening. Essentially that allows you to narrow your focus to the first 2 dogs. However, keep all dogs in sight because your primary checks may have missed something and shock can kill dogs just as quickly as anything.
Hunting Dog First Aid Kit: What You’ll Need
You're going to immediately focus on Dog 1 who has a major ARTERIAL bleed. This bleed can be neutralized in seconds with a product every houndsman should carry on their person and in their cut kit; a hemostatic agent like woundseal or quiklot.
Quikclot is a package of volcanic rock that reacts with blood and will chemically cauterize the wound. After the quikclot has finished its work, stuff the area with gauze or an absorbent material on hand. If you do not have this you will have to maintain pressure with a shirt or anything absorbent in an attempt to clot the blood. However, with the dire circumstance falling on Dog 2 and since you're alone you will likely have to do your best to move the dog over to Dog 2 to commence work on him.
Dog 2. Immediately place your ear on the dog's chest and you hear a sucking sound coming from the hole when the dog breathes. He has what is known as a sucking chest wound, likely from broken ribs. There is also a good chance of internal damage. You DO NOT want to attempt to shut this wound as the dog could have a partially or fully collapsed lung due to the air and fluids trapped inside. Instead, what you are going to do if you have the tools, is quickly shave the dog's wound to expose the skin. Find any type of plastic bag whether pre-made or a zip lock will work perfect as well, as long as it's clean. You are going to cut a square about 3 inches wider and taller than the puncture. Tape left and right as well as the top over the wound leaving the bottom open for air and fluid to escape on exhalation but on inhalation, it will pull in, creating a flap to seal the wound and preventing air coming in and keeping the lung collapsed. Once this is complete, monitor the dog for signs of shock. Now if you had wound seal and were able to stop the bleeding on Dog 1, you can move down your list on triage. If not you will have to do your best to get the rest of the dogs to the truck and rush the major bleed to a vet. We are going to assume you already read this article and had some on hand. You will also need to tape dog 1’s rear legs together to avoid it opening the wound and then continue down the triage list.
With Dog 3, you have 2 options. I suggest using water or saline to wash the dogs wound. After shaving the area, temporarily staple the dogs stomach shut as best as you can until they can see a vet and ensure there is no internal damage.
If this isn't possible, take a shirt and get it super moist to tie around his waist. It is vital that you keep the stomach contents moist, as the tissue will die if it dries which can prove to be costly to remove if not fatal.
Dog 4 is in no real danger, as it's thankfully a front leg injury. Had it been a femur fracture, you would watch for extreme swelling indicating a lacerated femoral artery. In this case, all you are going to do is immobilize the joint with what you can. Use a makeshift splint until you can get back to the truck.
Dog 5 like dog 4, is in no danger because the bleeding doesn't squirt with a pulse. Essentially you can rinse the wound and follow these steps from another article by Clayton Sheen here
Now that you have gone through each dog, you need to shift gears to either get them to the truck ASAP or move into a secondary check of all of the dogs. This time, you can perform a more thorough evaluation. Even those that have minor injuries should be checked over often and thoroughly. A bear is like a pissed off gorilla with claws and although they have those nails, more often than not, the dogs are hurt by blunt force leaving sometimes no indication of an injury. Check the spine and pelvis areas for swelling as they are key areas that are injured by a mean bear. Monitor the dog’s ABCs every 15 minutes until you get them to help and watch for signs of shock. When returning to the truck, dog 1 will require being packed out to immobilize the area and avoid more bleeding. Most guys have packs but if you don't, you can make a modified setup with a coat or sweater or even utilize a simple shoulder carry . Each and every dog in this list should see qualified medical help after this to check for further injuries.
At some point as a bear hunter you are going to be faced with an emergency scenario. Clearly this is of apocalyptic proportions and I hope this extreme scenario never happens to anyone. At the end of the day the minimum you should carry is a cut kit in your truck, hunting dog first aid kit, and a pack or two of woundseal / quikclot on your person at all times. Be prepared. It could save your hounds life.
Matt & Chelsea Hansler
IG @chelseahansler
Related products to hunting dog first aid: